How to Edit Android boot.img in Windows
What is boot.img?
One of the most common questions asked by people who want to get in to Android ROM hacking/development is how to unpack, edit and repack a devices boot.img. The boot.img is a small(ish) file that contains 2 main parts, the kernel (the brain of the Android system) and the ramdisk (a core set of instructions and binaries that begins the boot process and controls base aspects of the system, such as mountpoints, memory management and startup services). If you want to replace the kernel on your ROM, or if you want to make low-level changes to the way your ROM works (like editing Androids lowmemorykiller settings to control how memory is freed up in the system) then you will need to be able to edit your boot.img file.
Step 1
The first thing required for this method is to install Cygwin which allows you to use some (traditionally linux-based) GNU development tools. Follow the guide here to get Cygwin installed on your computer (for the purposes of this guide, you will need the perl package installed with Cygwin).
Step 2: Download the Script Package
This zip package (newly uploaded - no password) contains a set of Cygwin scripts and binaries (from XDA) custom-built to make the task of unpacking and re-packing your boot.img extremely easy. Unpack this zip file to a folder on your computer. For the purposes of this guide, we will assume you have extracted this package to: “c:\android\tools\scripts\bootimg-tools”
Step 3: Get your boot.img and Place it in the Script Folder
I will not cover extracting the boot.img directly from your device in this guide, instead we will assume you already have this (this can usually be easily obtained from a custom ROM’s update.zip installer package). Get your boot.img, and place it in the same folder as your extracted scripts.
Step 4: Extract the boot.img!
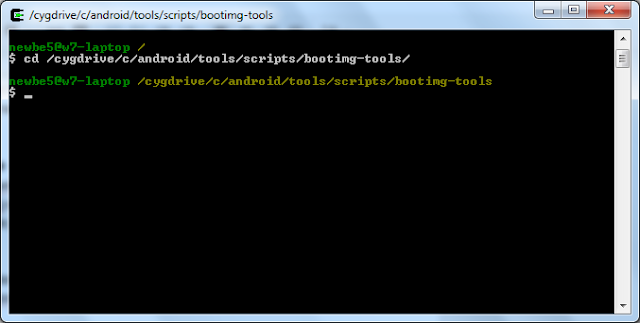
Run Cygwin and navigate to this folder using the command:
cd / cygdrive / c / android / tools / scripts / bootimg-tools
Now unpack your boot.img by running the following command:
. / Boot.img extractboot
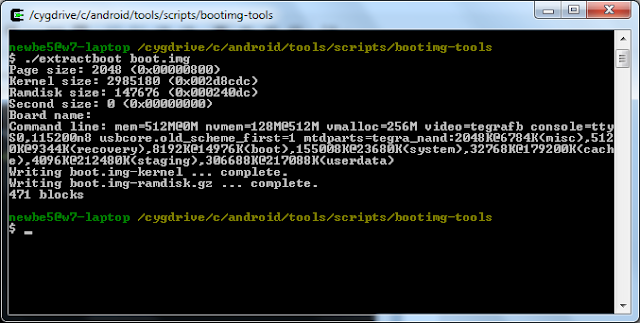
If the image looks on the extraction was done right! Note that the command string has been read from the source file, which will be used later when you prepare your file re-pack.
Folder containing scripts will now look like this:
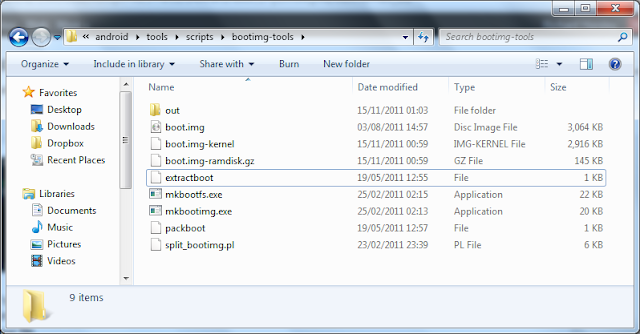
boot.img-kernel is the compiled kernel blob that was inside the source boot.img, if you want to replace the kernel with another compiled kernel image, you can replace this file with another one (but leave the file name the same)
boot.img-ramdisk.gz is the gzipped ramdisk image which has been split from the boot.img, you should leave this file alone.
The “out” folder contains the EXTRACTED ramdisk, and this is where you should make your changes to the ramdisk.
Important Note!
Remember, when editing files in the ramdisk through Windows, such as init.rc, Windows notepad will not format the files correctly, making them almost impossible to read, wheras Wordpad will LOOK like it is formatting the files correctly, if you save one of these files from the Wordpad application it will BREAK the file and it will no longer be able to be read correctly by Android. To edit these files you MUST use an editor such as Notepad++ which you can download for free from here.
Step 5: Re-pack your Edited boot.img
This guide will not cover how to change specific parts of the ramdisk, but once you have made your required change, you are now ready to re-pack your edited files back in to a new boot.img.
From Cygwin, run this command:
. / Packboot
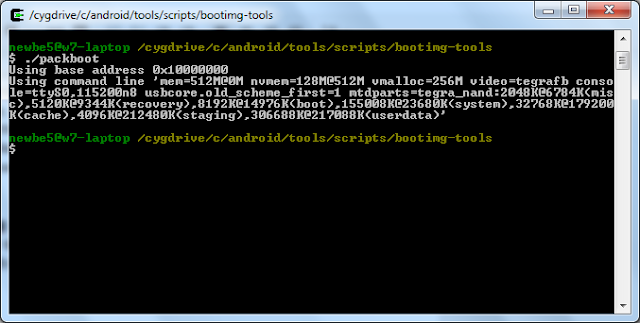
One thing to note that people may mention in other guides, is that when packing boot.img files, you will usually have to declare a base address, and a command line to the packaging tool. This set of scripts reads the existing command line and base address from the boot.img file you originally provided at the time of repacking, so always make sure you leave your original source boot.img file in the folder and do not re-name it after extraction, your newly created boot.img file will be named boot_new.img and will NOT overwrite the original.
Done! If your screen looks like the image above, then you should now have a freshly created boot_new.img file, ready to be flashed to Android for testing, you can always just replace the existing boot.img in your favourite ROM installer zip and flash it as normal to test, more advanced boot.img flashing methods will have to be covered in another guide!